
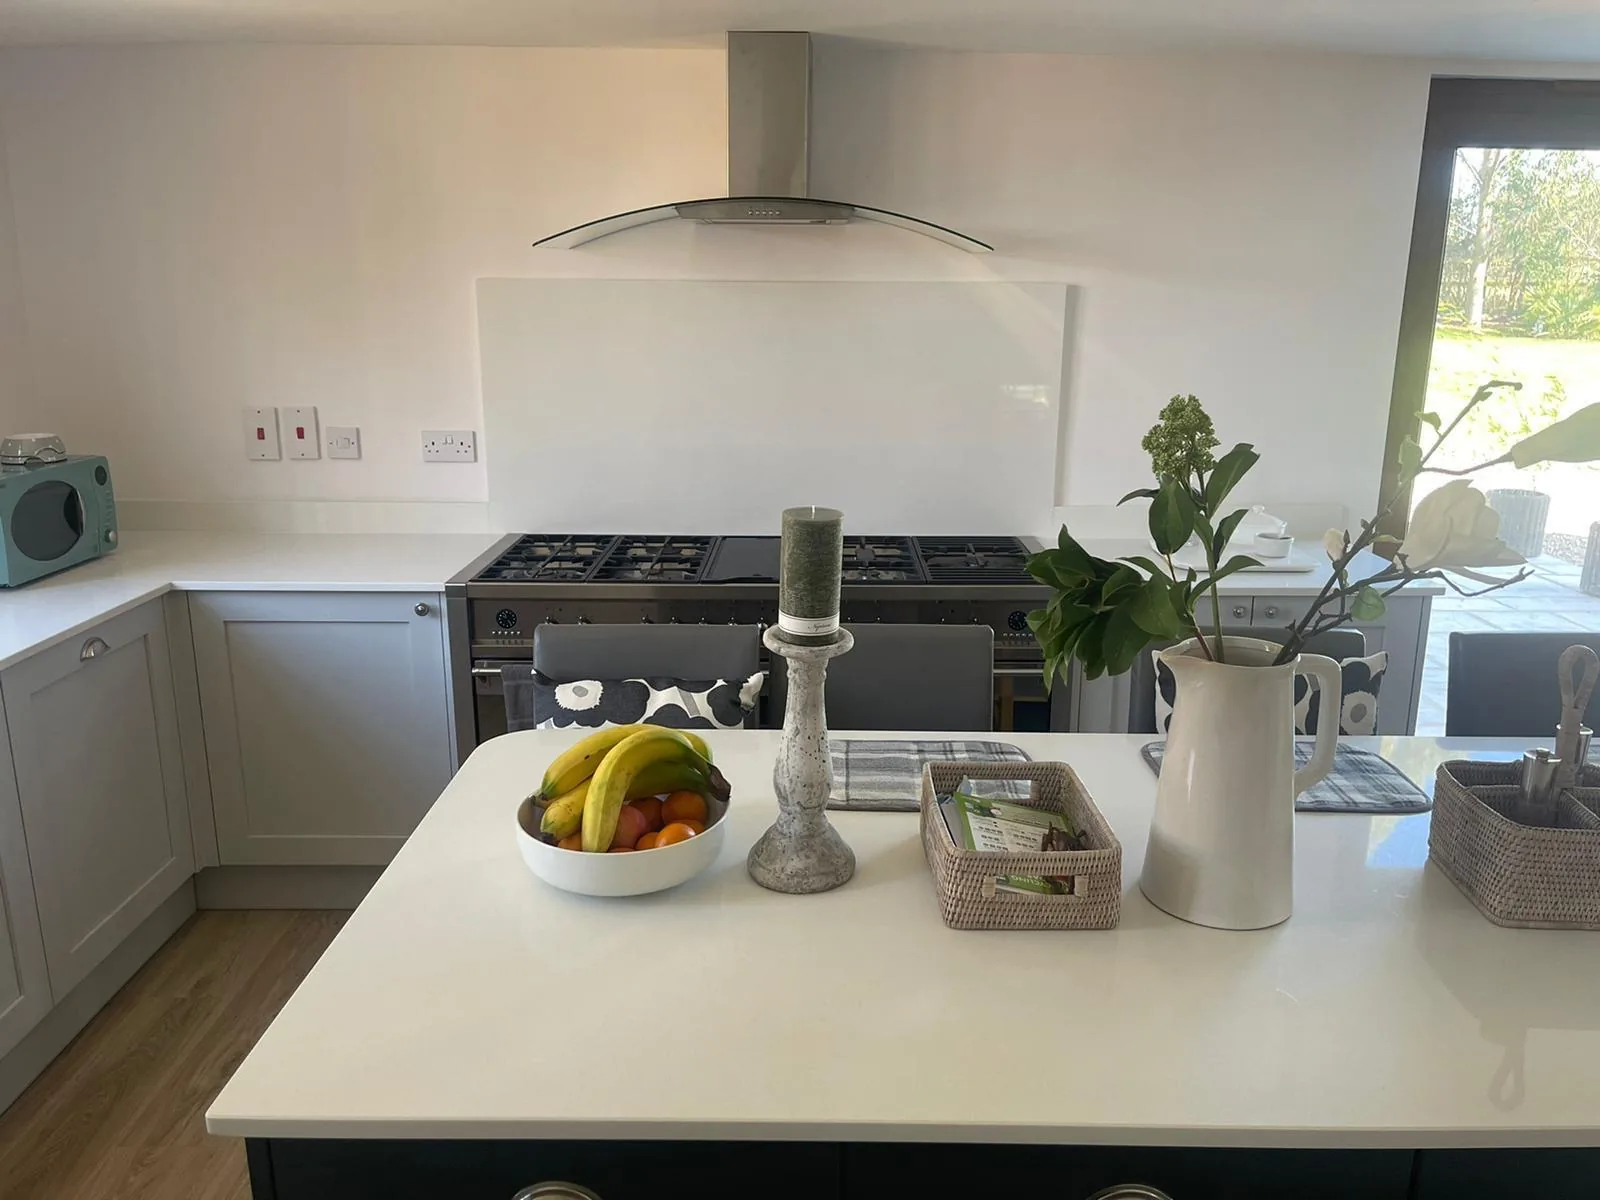
Three options, one wall. All three can look right, so this is not a decision about looks. It is about grout, about how far out of true your wall is, about what happens behind the hob, and about the fact that a stone panel is machined once and never adjusted afterwards.
Key points
- The grout line is the real reason to move to stone; if grout does not bother you, tile and spend the difference on the worktop
- Both stone options are templated after the worktop is fitted, never before, because they scribe to the wall the worktop actually meets
- Sockets, switches and the extractor must be final before anything is cut: a stone panel is machined, not adjusted
- Behind a gas burner, use granite or sintered stone: quartz is resin-bound and does not want sustained heat
- Cut the wall pieces from the same slab run, because on natural stone a later replacement will not match
The short answer
Most kitchens end up with a mix, and it is the one we fit most often: an upstand of around 100mm along the general runs, and a full-height piece behind the hob. That covers the junction between worktop and wall, the least straight line in the room, and takes grout out of the stretch that gets splattered daily.
Full-height stone everywhere earns its cost when the runs are short, the wall is flat and the sockets are settled. Tiles earn theirs when the room is period, the budget is finite, or the wall is doing something a machined panel cannot follow. The indefensible move is deciding once the tiler is booked.
What each of the three actually is
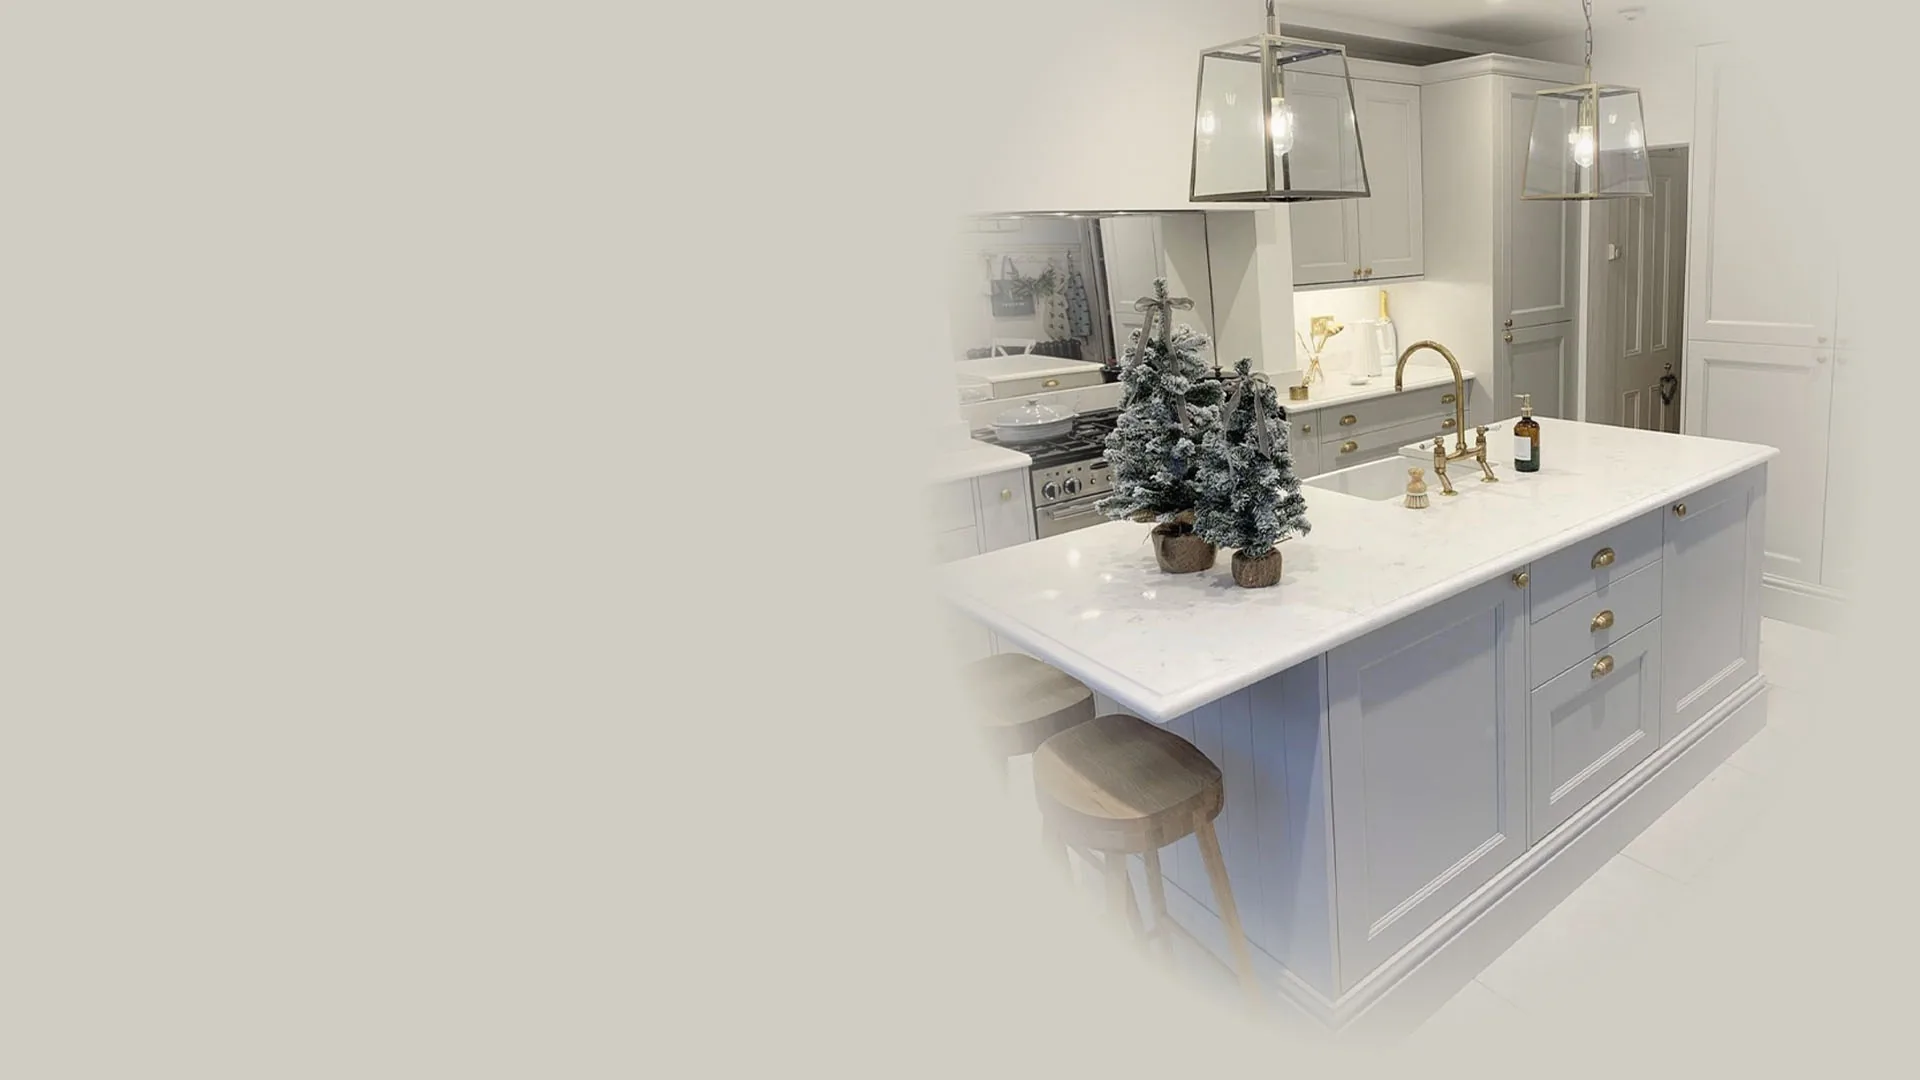
An upstand is a low strip of your worktop material, commonly around 100mm high, standing on the worktop against the wall in place of the bottom course of tiles. Being a separate piece, it is scribed and packed independently of the worktop back edge. It is priced by the linear metre.
A splashback is full height: worktop up to the wall units, or up to the extractor behind the hob. It is priced by area rather than by the metre, which is most of why it costs more, and it demands an accurate template of every socket and switch.
Tiles are the conventional alternative and there is nothing wrong with them. Cheap by comparison, available in anything you can imagine, and forgiving of a wall that is out of true, because each small unit only has to agree with the wall across its own width. They come with grout lines, which is the whole argument.
The grout line is the real reason people move to stone
Everything else on this page is a preference. Grout is what changes how the kitchen behaves five years in, and it is the honest answer to why anybody pays to put a piece of their worktop on a wall.
It is porous, and it sits exactly where fat, tomato, turmeric and coffee land. It is harder to clean than the tile either side of it, and it discolours unevenly rather than all at once, so it never looks merely older, it looks patchy. Around a sink the joints take on water and the corner silicone goes first, usually with mould in it.
A stone panel has no joints across the face at all. If none of that bothers you, tile, and spend the difference on the worktop instead.
Side by side, on the things that differ
| Upstand | Full-height splashback | Tiles | |
|---|---|---|---|
| Grout lines | None | None | Throughout the splash zone |
| Cleaning | Wipe | Wipe | The grout is the work |
| Cost basis | Per linear metre | Per area, dearest of the three | Cheapest by a distance |
| Wall out of true | Rides it, scribed and siliconed | Shows it, wall wants making good | Absorbs it across small units |
| Behind the hob | Leaves the wall above exposed | The reason to have one at all | Works, but grouted |
| Sockets | Rarely in the way | Final before cutting, or scrap | Cut around as the tiler goes |
| Match to the worktop | Exact, same slab run | Exact, same slab run | Contrast by design |
Stone on the wall comes off the same slab as the worktop, so it sits in the band you already chose: £110–£550/m² supply only, before fabrication and fitting.
The wall decides more of this than the budget does
A full-height panel is a large flat plane and it reports on your wall honestly. Lath-and-plaster bows at skirting level and again higher up, so a panel that fits at the worktop stands off by several millimetres at the top. The fixes are to dub the wall out and skim it, to relieve the back of the stone and scribe it, or to set the panel proud on a subframe with a shadow reveal, which reads as a detail rather than a bad fit.
An upstand sidesteps all of that: at 100mm it only has to agree with the wall over 100mm of height. On a replacement job, stripping old tiles usually takes the bottom band of plaster with it, because the laminate top ran under the tiles rather than up to them. An upstand covers that ragged strip; a full-height panel rocks on it.
Behind the hob, the material decides it
This is the one place where the choice of stone is not a matter of taste. The wall behind a hob takes sustained radiant heat at close range, and the three families do not respond alike.
Heat, by material
- Quartz: use a trivet (the resin scorches). It is resin-bound, and sustained heat inches from a gas ring is the one condition it does not enjoy. Behind induction it is untroubled
- Granite: excellent (hot pans are fine). Quarried stone with nothing in it to soften
- Sintered stone and Dekton: excellent (nothing in it can scorch), because there is no resin in the material at all
So if you cook on gas and have chosen quartz for the worktop, the panel behind the burners is worth a conversation: specify granite or a sintered surface for that piece, or take an upstand there with tile above. Behind induction none of this applies. We will tell you if the colour you have fallen for is wrong for that spot.
Height, and the window sill that usually ends the argument
Around 100mm is a convention, not a rule. What governs the height: the underside of the wall units, where a tile course above would start, socket height, and anything stuck to the wall at worktop level such as boxed pipework or trunking, which sets a minimum for a flat piece.
Then there is the window. A low sill over the sink run, standard in a great many inter-war kitchens, often leaves less clearance between the units and the sill than an upstand needs. Either the stone dies cleanly into the window board, the upstand drops in height for that stretch, or the sill is cut from the same material and the whole thing becomes one detail. The third is usually right, and far cheaper added at template than as a second visit.
On a full-height panel the top edge has its own clearances: height is taken to the underside of the wall units and, behind the hob, to the actual body of the extractor rather than the one on the elevation. A chimney hood needs its fixing plate and brackets on the wall before the stone goes on, because nobody is drilling a fitted panel afterwards.
The order it has to happen in
Step by step
Step 1: Decide at quotation, before the tiler is booked
Upstands, full-height stone or tiles changes what the wall needs and in what order.
Step 2: Settle the sockets, switches and extractor
Final positions, physically installed. Not planned positions, and not "the electrician is coming back".
Step 3: Get the walls to final thickness
Plastered, made good and dry. No tiler and no splashback fitter gets ahead of the worktop.
Step 4: Fit the worktop and let it settle
Tops down, scribed, joined and levelled. Until that exists there is nothing to measure from.
Step 5: Template the wall pieces
In the same template visit wherever possible, with faceplates off and back boxes visible, so the whole job is cut from one slab run.
Step 6: Fit, scribe, bond and silicone
Bonded to the wall, scribed where the wall demands it, siliconed down to the worktop. Grout appears nowhere in this sequence.
The part people get wrong is the order of the last three. Stone on the wall is templated after the worktop is fitted and settled, never before, because it scribes to the wall line the worktop actually meets rather than the one on the drawing. A back edge is trimmed on site to follow the bow in the plaster, so the finished surface sits on a real line of its own shape.
Cut a panel before that line exists and you get a tapering gap along the bottom, wide at one end and closed at the other. It cannot be fixed without a new piece. Tiles run ahead of the worktop fail from the other direction: they finish on a level line the worktop does not follow.
Sockets are final before anything is cut
A stone panel is machined flat on a bench from a drawing and carried in finished; nothing is adjusted on site beyond a scribe to the back edge. An aperture 40mm out is not trimmed or eased: the piece is scrap and a new one comes out of what is left of the slab run. This bites hardest in new-builds, where the sockets were set out for the developer’s own units.
Matching, and why it is cut with the worktop
Upstands and splashbacks are nested onto the same material as the worktop, at the same time, so colour and pattern scale carry through. Engineered quartz and sintered surfaces are made in batches, and two slabs of the same named colour can differ in tone and in the scale of the veining. A slight difference two metres away is invisible; the same difference where an upstand meets the worktop it stands on, under downlights, is not.
Quarried stone is worse, because there is no batch number to ask for. Two slabs of the same named granite bought a year apart differ in tone, flecking and movement. If a natural stone upstand is damaged in five years the replacement will not match the pieces either side of it, and the repair is to recut that whole run.
The junction to the worktop is siliconed, never grouted
Where an upstand or splashback meets the worktop it is sealed with silicone, and this is not a shortcut. It is a movement joint: base units settle, timber moves with the seasons, and stone does not bend to accommodate any of it. Grout in that line cracks, usually within the first heating season, and then lets water in at the one place water is guaranteed to arrive. A colour-matched neutral-cure bead flexes, and can be raked out and replaced in minutes years later.
Where tiles are genuinely the better answer
- A period kitchen where the tile is the point. Handmade or crackle-glaze tile in a Victorian room belongs to the house in a way a large flat panel does not, and costs less
- A wall badly out of true that cannot be made good, where small units absorb the movement rather than report it
- A tight budget, where the money is better spent on the worktop material or the edge detail
- A wall full of interruptions: sockets, a boiler, a boxed-in soil stack, returns and reveals, where full-height stone becomes several pieces with vertical joints
- Colour or texture that no slab does, if you will keep the grout clean
The middle path is upstands along the runs with tiles above: stone at the junction, the part that matters, and tile out of the splash zone where it stays cleaner.
How to decide, by kitchen
- Family kitchen, flat walls, budget under pressure: upstands throughout, full-height stone behind the hob only. This is the answer more often than any other
- Handleless contemporary kitchen, clean wall, settled sockets: full-height stone, and skip tiling entirely
- Period terrace with a chimney recess: upstands on the runs, full-height inside the recess, templated as the trapezium it actually is
- Low window over the sink: settle the sill first. It may set the upstand height for the whole room
- Gas range with quartz worktops: keep quartz on the runs, granite or sintered stone in the burner zone
- Rental, near-term resale, or a wall you know you will change: tile it
Whichever way it lands, get it onto the quote before the tiler is booked and before the electrician second-fixes. We price upstands and a full-height splashback as separate lines, so you can see the difference and choose.